In this brief tutorial, you will learn how to use TEI-Publisher, edit an XML file, and start working on your own digital edition. Read carefully and if you have any questions feel free to email Bastiaan Waagmeester.
Note: I will use Edge on Windows 11 for the following instructions. If you use a different browser like Chrome, Safari or Firefox or even a different operating system it should be the same, so do not worry.
Step 1: Access the database
Start your favorite browser and navigate to https://libripendis.eu/teipub
You’ll now access a server at the university which runs that database that we’re going to use, hence the ip-address (134.2.17.232) in your address bar. The database is called ’eXist-db’ and in it I’ve installed TEI Publisher.
After you’ve clicked on the link you’ll see the following screen:

Two applications are important here:
- Tabula Salomonis (this is an instance of TEI Publisher but contains a specific version of the app, which is why it has a different name)
- eXide (this is the app with which we’ll edit our XML files)
I’ll now explain how to use both apps.
Step 2: Start TEI Publisher
Click on ‘Tabula Salomonis’. You will see the following:
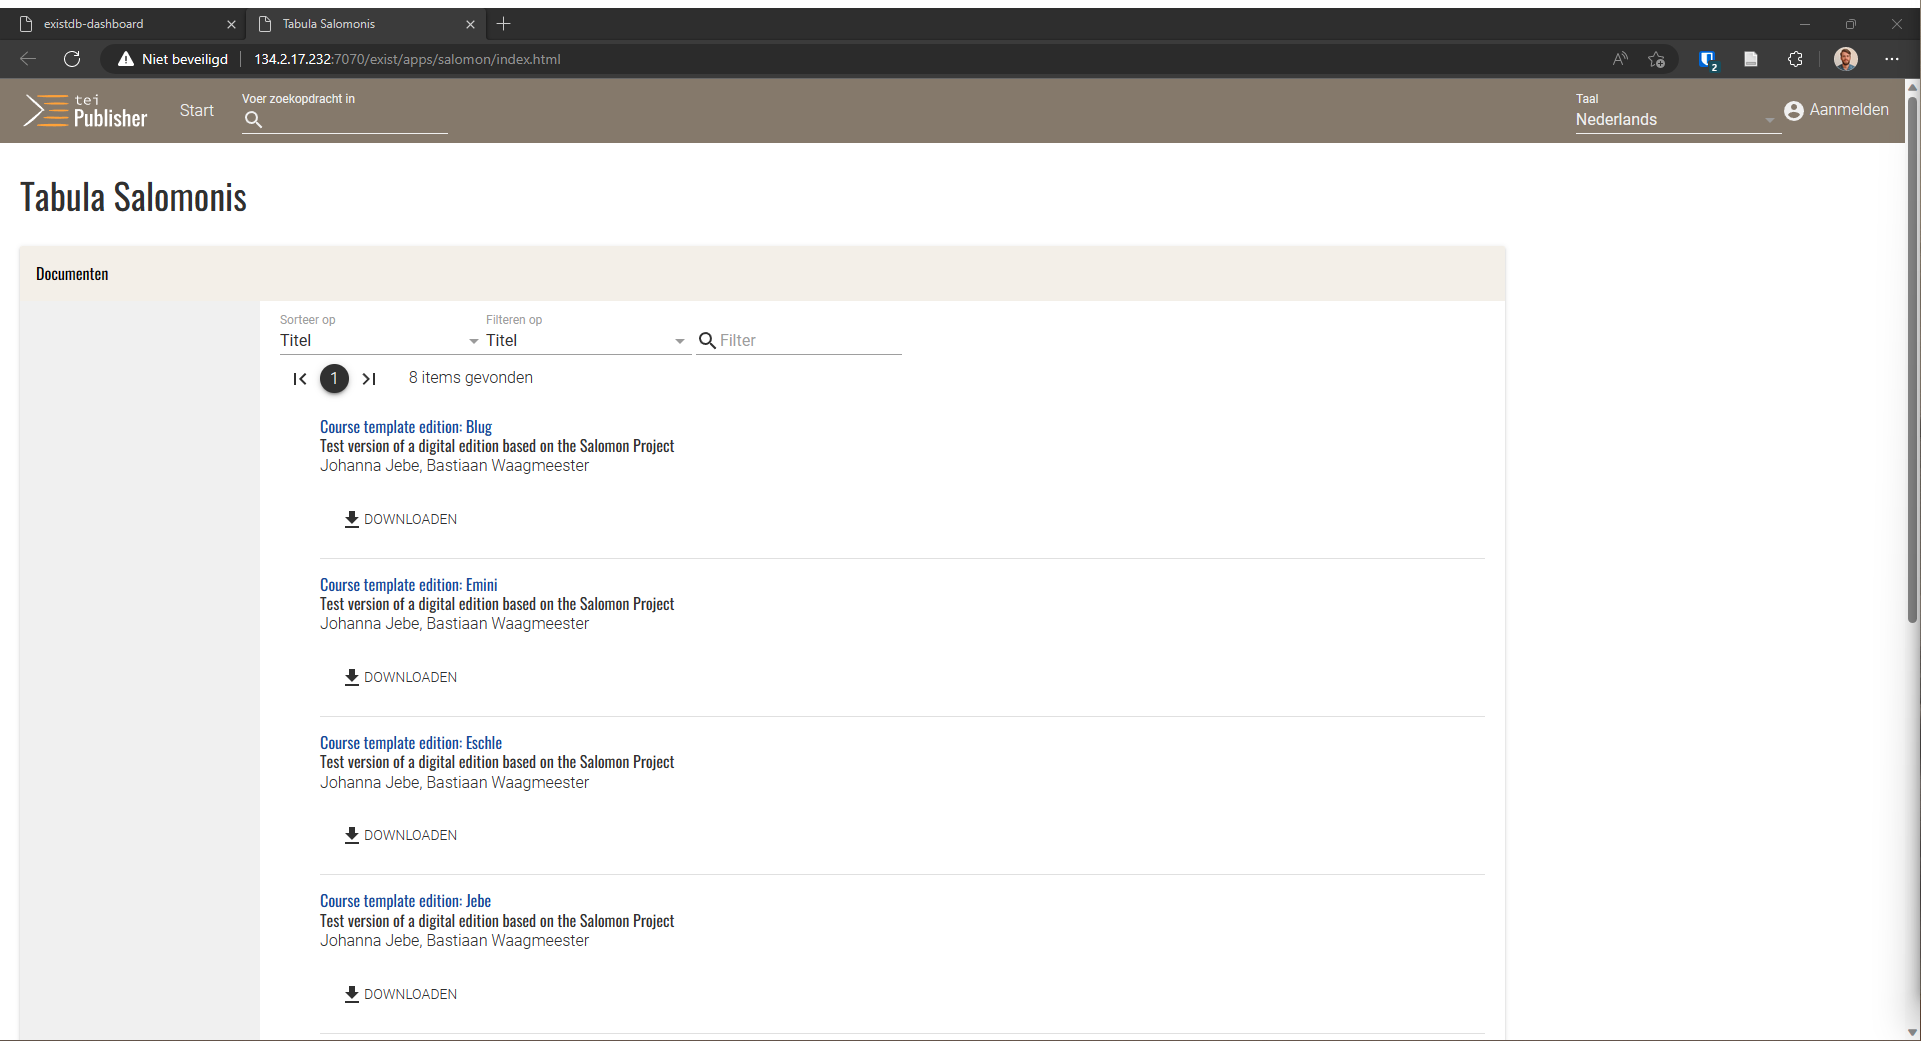
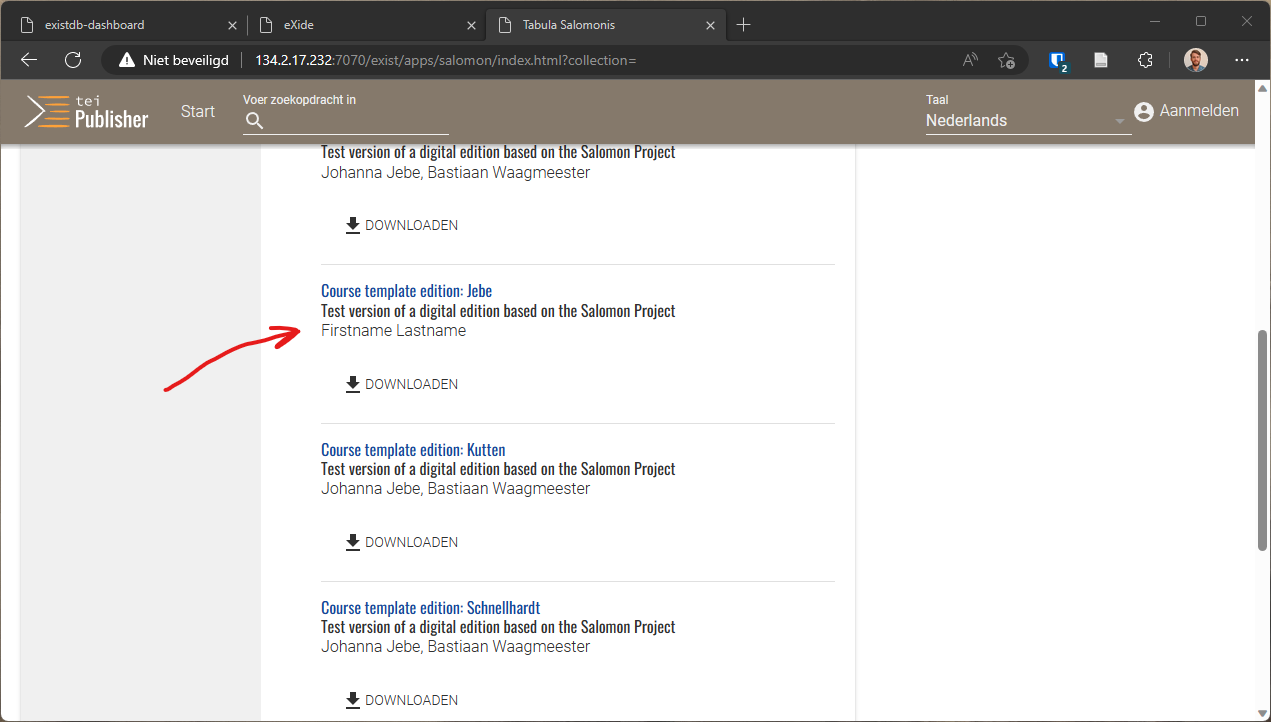
Here you have an overview of all the different editions that are already there in this particular instance of TEI Publisher. As you can see everyone has their own template edition. Note that Johanna Jebe and Bastiaan Waagmeester are listed as editors, this is incorrect (as you are the new editor) so we’re going to change that.
Click on the edition with your name. You will be presented with this:
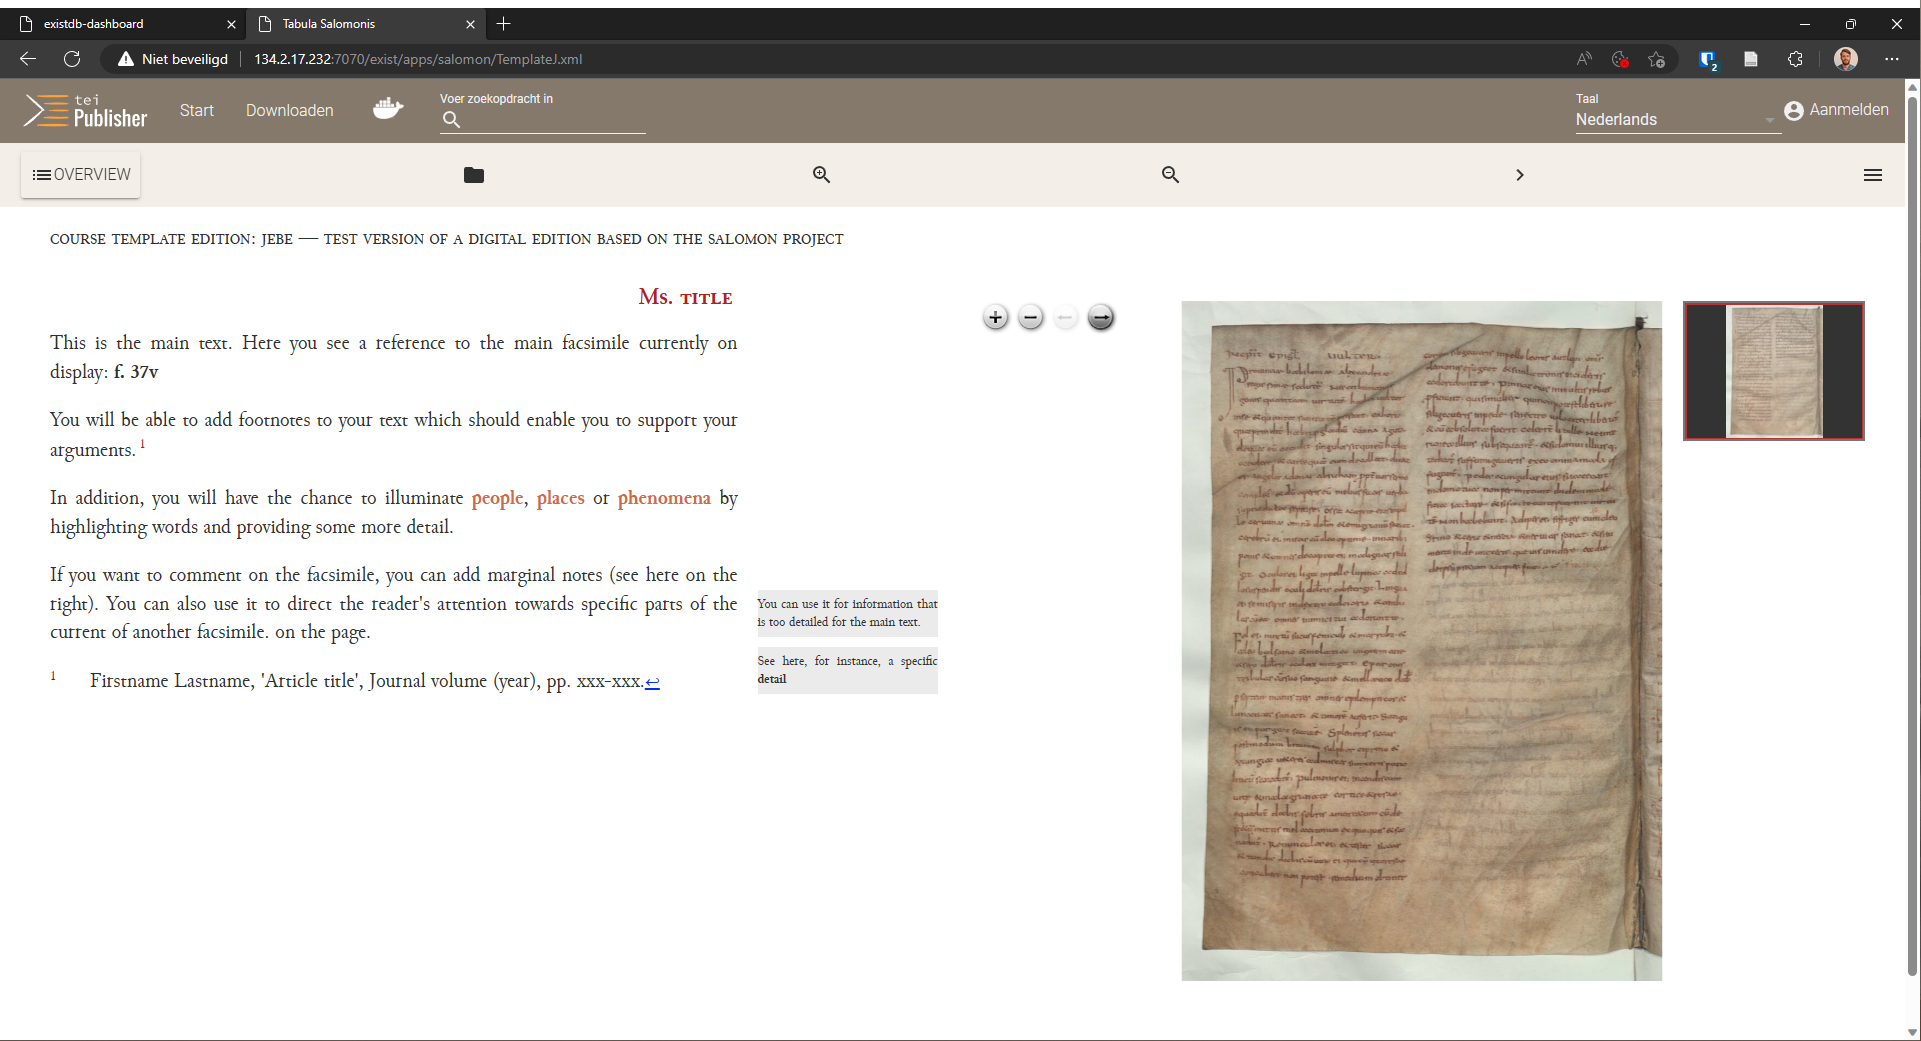
Navigating TEI Publisher is relatively easy. You have to think of the edition like a book. You’re currently looking at two pages (text on the left, image on the right), which you can flip through with the ‘>’-icon. If you do this, you’ll then see the ‘<’-icon appear, this takes you back a page.
With the folder-icon you return to the edition overview. The ‘+’ and ‘-’-icons enable to either increase or reduce the size of the page on the left.
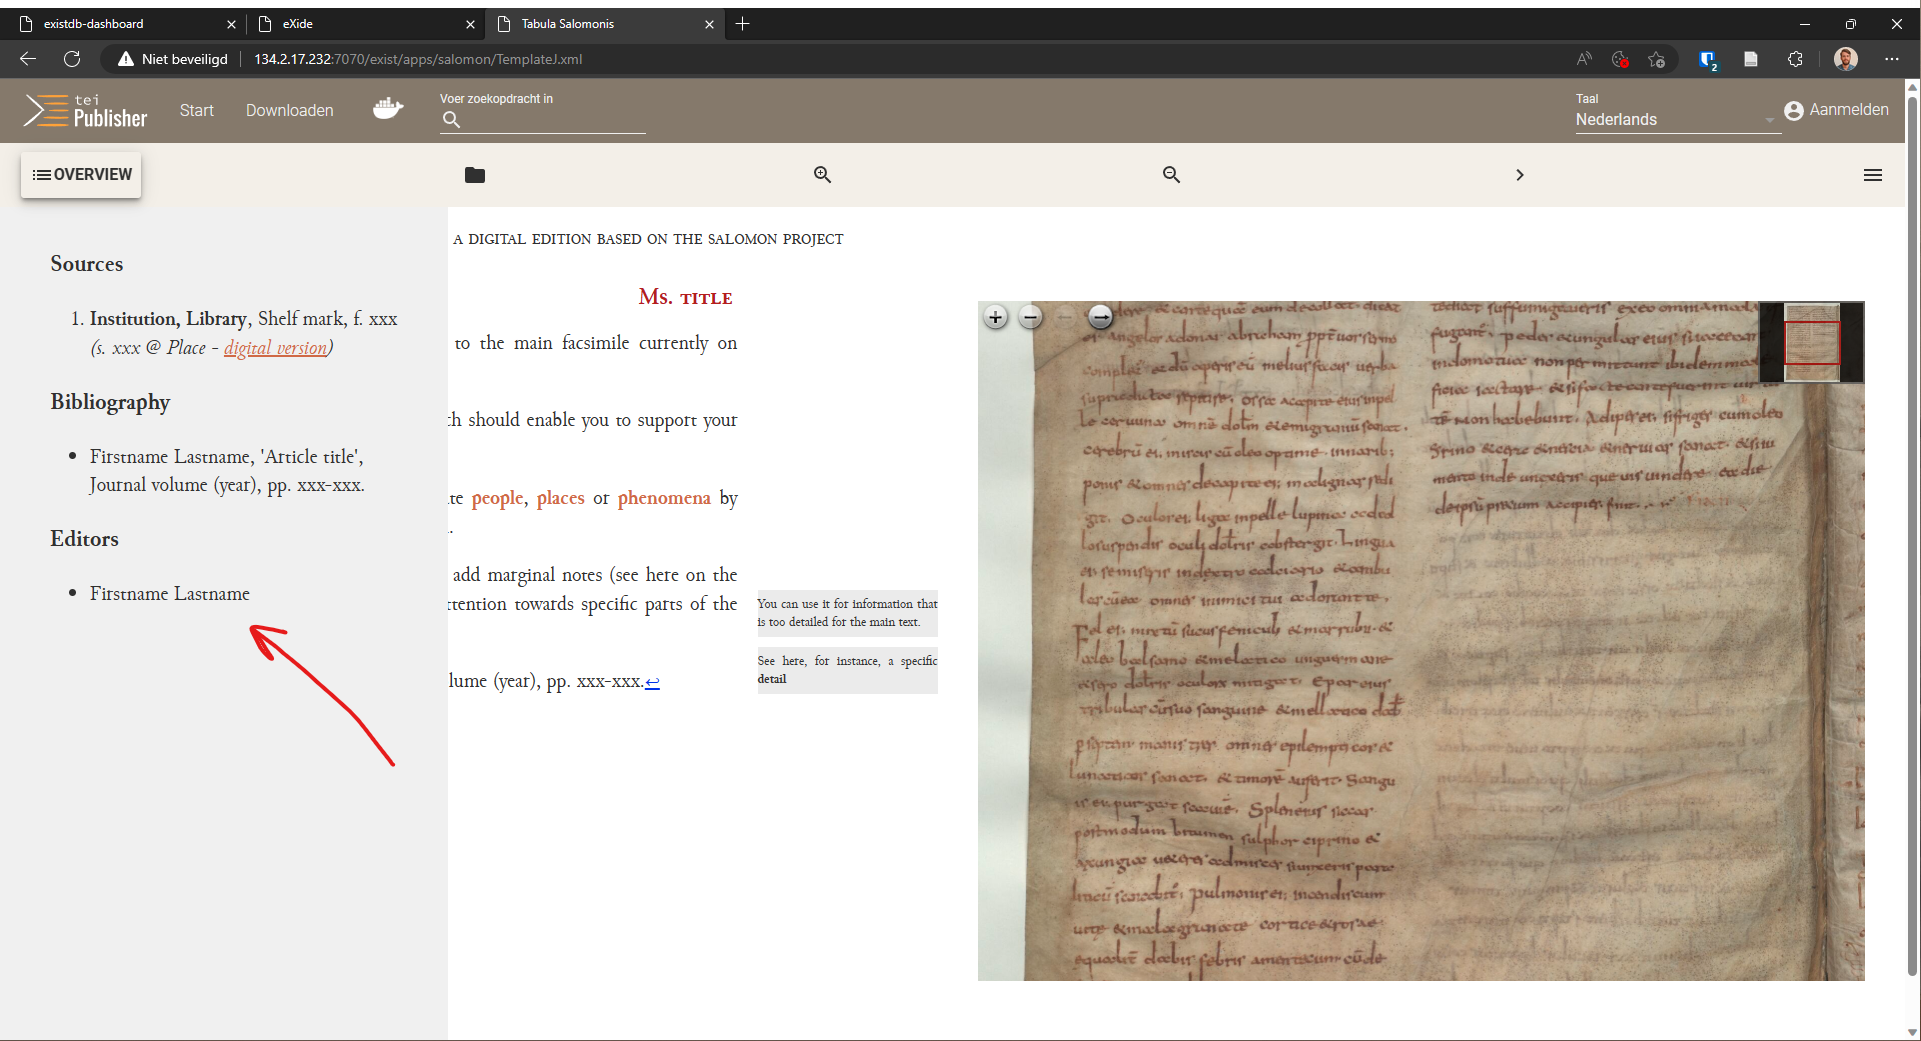
Finally, there is the ‘overview’-icon, which will give you information about the sources on display, the bibliography and the editors. This is all information that you are going to add to the edition in the coming weeks.
Play around a bit with the edition, so you know how to use it, and proceed to the next step.
Step 3: Start eXide
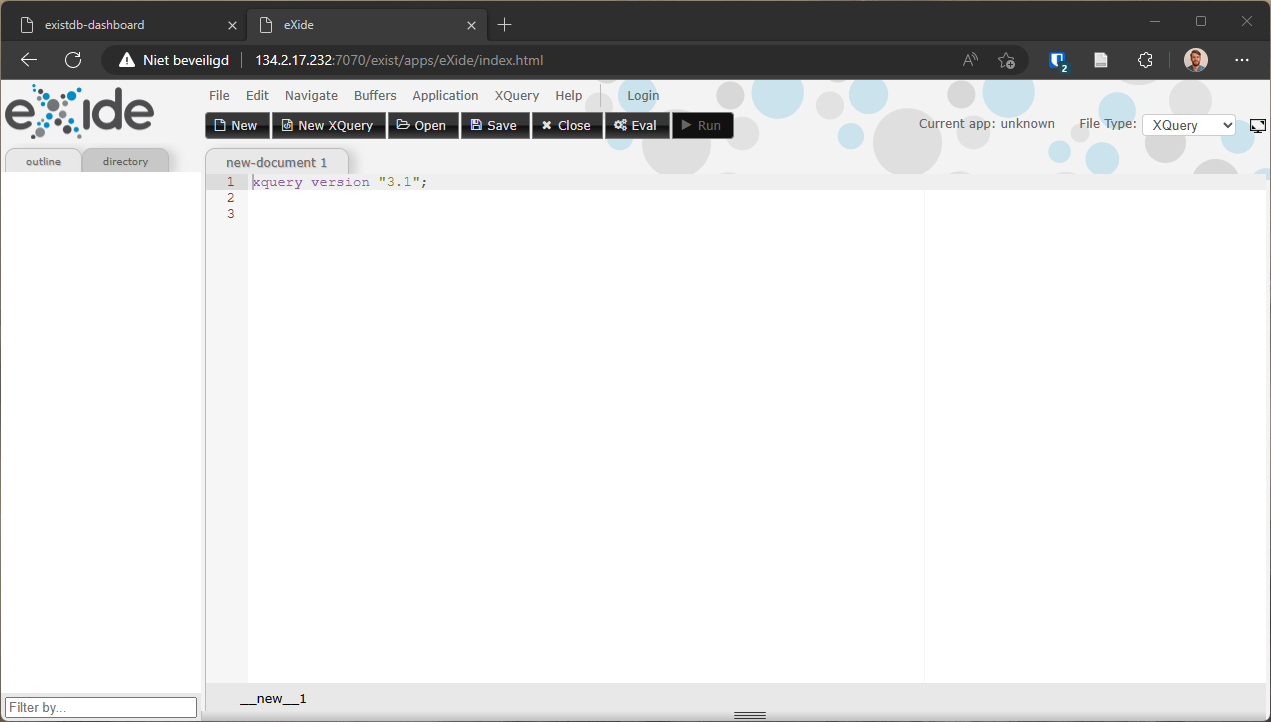
Return to the existdb-dashboard by selecting its tab or going to https://libripendis.eu/teipub. There click on eXide and remove the ‘Version note’ and the ‘Quick start’ suggestion, we’re not interested in those. You should see this:
We’re not going to edit an XML file. Navigate to the file by clicking on the ‘directory’ tab on the left and then on ‘db’ -> ‘apps’ -> ‘salomon’ -> ‘data’. Here you will find the material you need and this is where you’ll go each time you work on the edition:
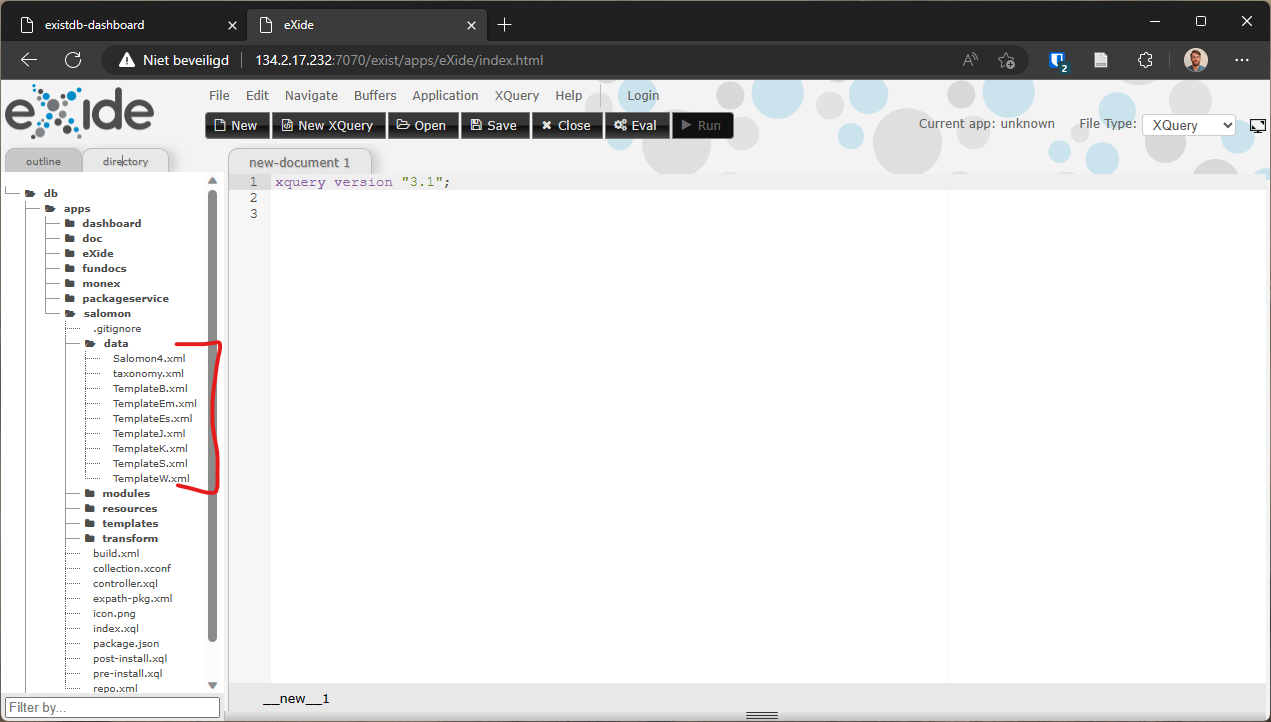
Open the file which corresponds with the first letter (or first two letters) of your last name. Johanna Jebe will pick TemplateJ.xml, for instance. If you get a notification that the file is ‘read-only’ then you’re ready to go to the next step.
Note: You don’t have to do this, as it has to do with personal preference, but it does make working with the material slightly easier. In eXide, go to ‘Edit’ on top of the page, select ‘Preferences’ and pick the ‘Tomorrow Night’ theme. Also set ‘Soft wrap’ to ‘Screen width’. Click on ‘close’. In this way, you’ll have all the data on screen in clear visible colours.
Step 4: Login and editing XML
Now you’ve opened your personal XML file which contains all the information for the edition. The structure of these files will be explained in class. The only thing you will do is change the editors.
In order to do this, you need to login first. On top of the page (in eXide) click on ’login’. There you login with your Lastname (note the capital letter) and your Matrikelnummer. You can tick the box ‘remember me for two weeks’, so you don’t have to login that often.
Then delete in the XML file <editor>Bastiaan Waagmeester</editor> and add your own name where it says Johanna Jebe.
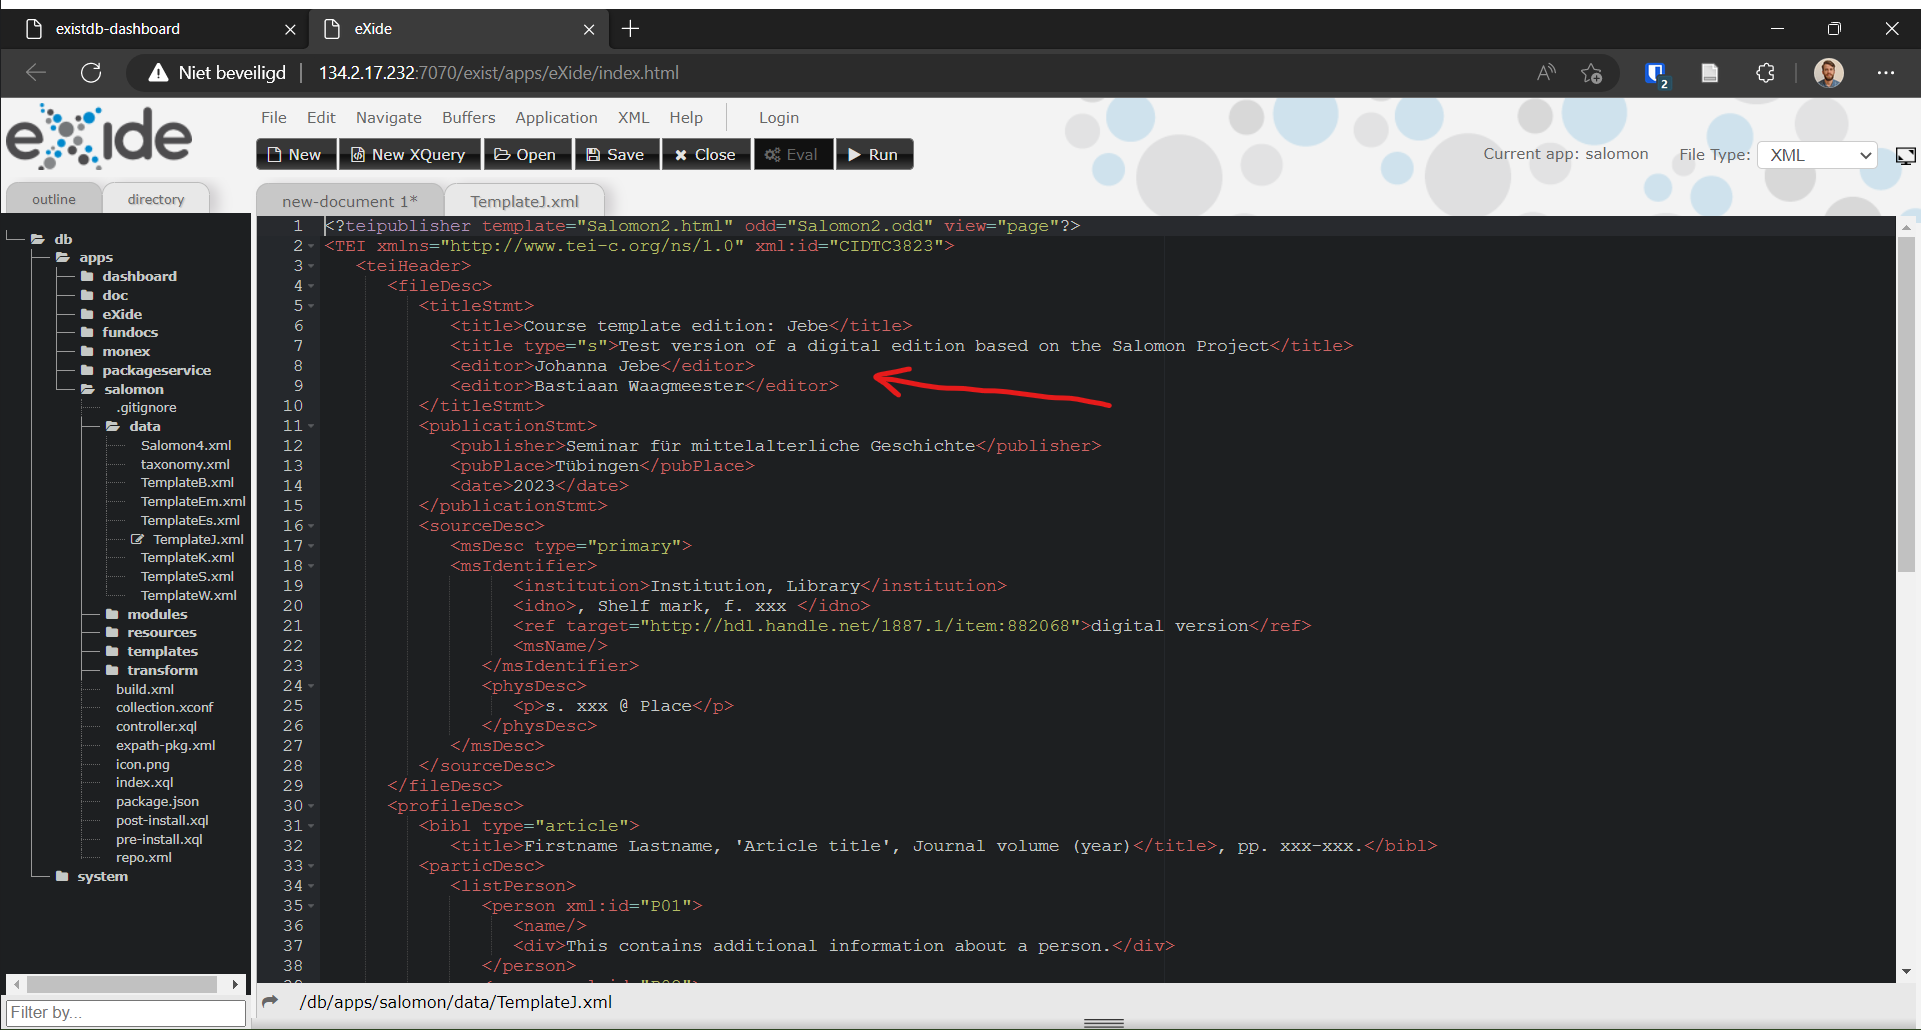
It should read <editor>Firstname Lastname</editor> Click on ‘Save’. You’ve now made your first alteration to your edition!
Go to your the edition overview and you’ll see that it changed:
Another way is by going into the edition and click on ‘overview’:
This is nothing major, of course. Still, it is this same procedure with which you can make alterations to your edition and directly see a result. This is the power of TEI Publisher which enables you to work and ‘publish’ at the same time.
An overview of the different ways of encoding used in the course you’ll find here.
Step 5: Extract and restore your data
At some point, you will have to extract your data. The database might get updated and you’ll have to save it locally, otherwise you might loose it. You don’t have to do this every time. Still, it is important to be able to do this when the time comes. Follow this procedure:
- In eXide, open your personal XML file
- Click on ‘File’ and choose ‘Download’
- Done! The downloaded XML file is your digital edition.
Whenever you have to start again, you first open your personal XML file on you computer. Copy all its contents to your clipboard by pressing ctrl+a and ctrl+c. Then access the XML file in TEI-Publisher via eXide, select all content with ctrl+a and press ctrl+v to paste in all your personal data. Now ‘Save’ and you are ready to go.